|
Getting your Trinity Audio player ready...
|
One damaged old photo is a memory. So why not restore old photos online and at the same time bring back some memories. I had an attic full of memories in the form of decaying photo prints. I found them while they were still hanging on to life. You can repair damaged photos using a variety of software. Some, like Gimp, is a free open source alternative to the expensive Adobe Photoshop and has been around for years. Gimp has masses of tutorials to help you learn and save money hiring professionals, if you have the patience and desire to restore old damaged photos.
How to restore old photos online, with basic training
In my first post about how to restore old photos online, I detail some of my early forays into the restoration process. I learned about modern-day photography, post-processing and photo editing. And I realised what good results could be achieved with a basic understanding of GIMP.
Gradually I became more proficient. Buying a DSLR camera and investing in Adobe Lightroom and Topaz products. And I got even better results with less work. I am not a pro, and it has taken hard graft and patience to feel comfortable in the modern photo-art world.
The reason I wanted to try damaged photo restoration
My rationale behind why you should try damaged photo restoration hasn’t changed since the first post. I wanted to document and preserve memories of my 20th-century travel experiences. But the photos I had were old, mainly poor quality prints which I could never recapture again. I sorted through mountains of old photos of my time in The Gambia 1979, Kenya 1980, and Trinidad Carnival 1982. Then I discarded most of them, and ended up with around 200 which I thought were usable. A photographic shop with a decent scanner charged $30 to scan them. Even the best ones were grainy with washed out colour. But they weren’t ripped like the ones I had of my grandparents.
My repair damaged photos workflow
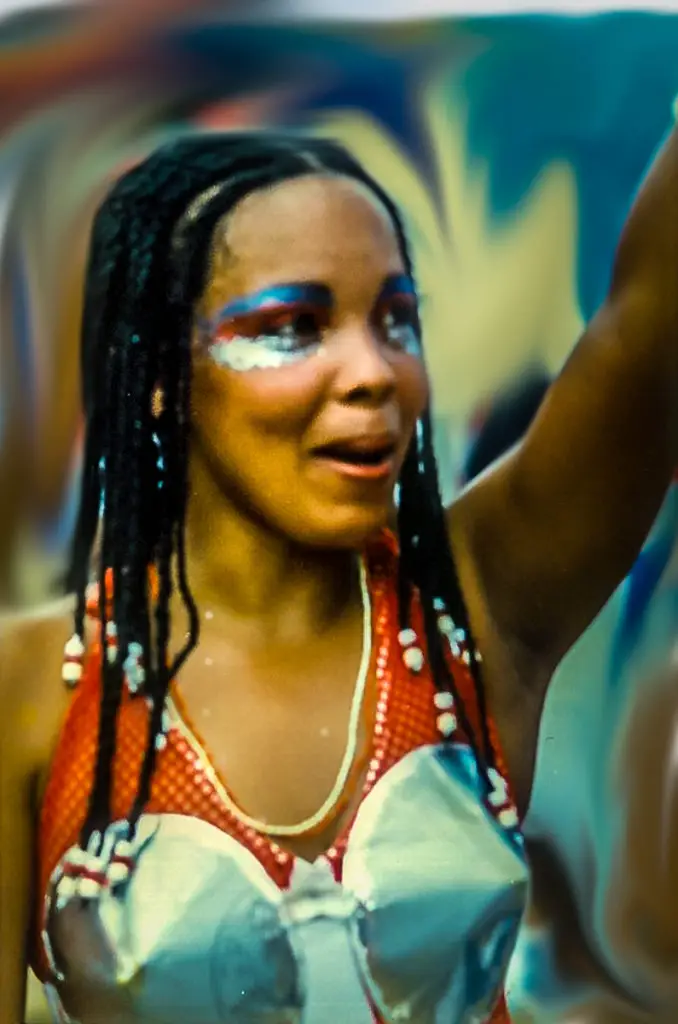
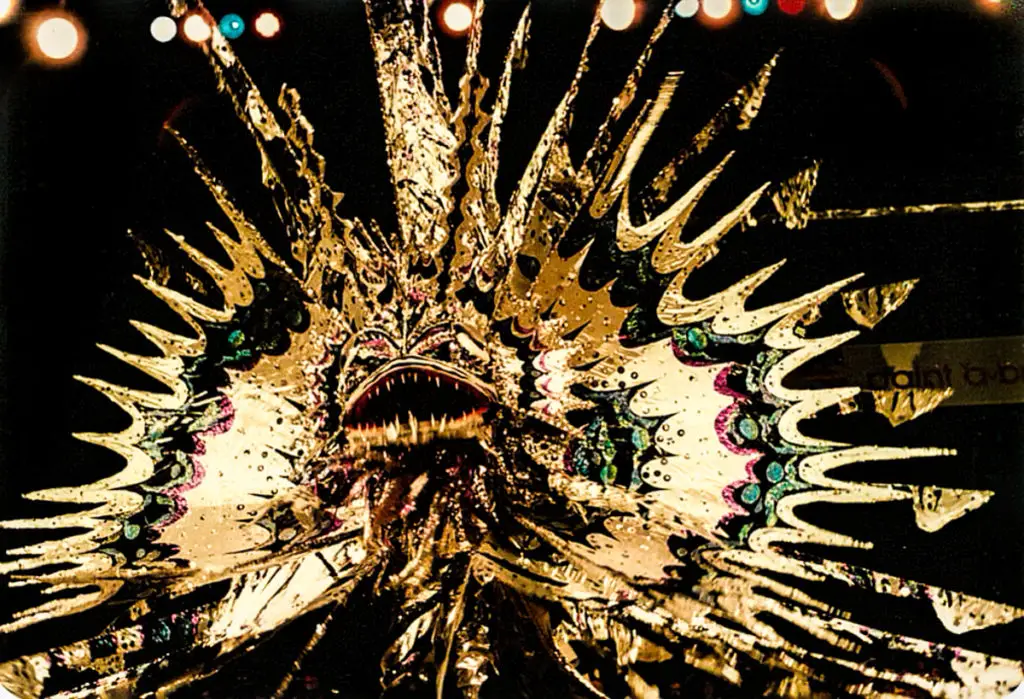
I acquired a greater understanding of the tools needed to restore old damaged photos within a few months of starting the project. So, I wrote this second post to explain my workflow more and show some of the improved results – like the stunning Fish Queen from Trinidad Carnival 1982.
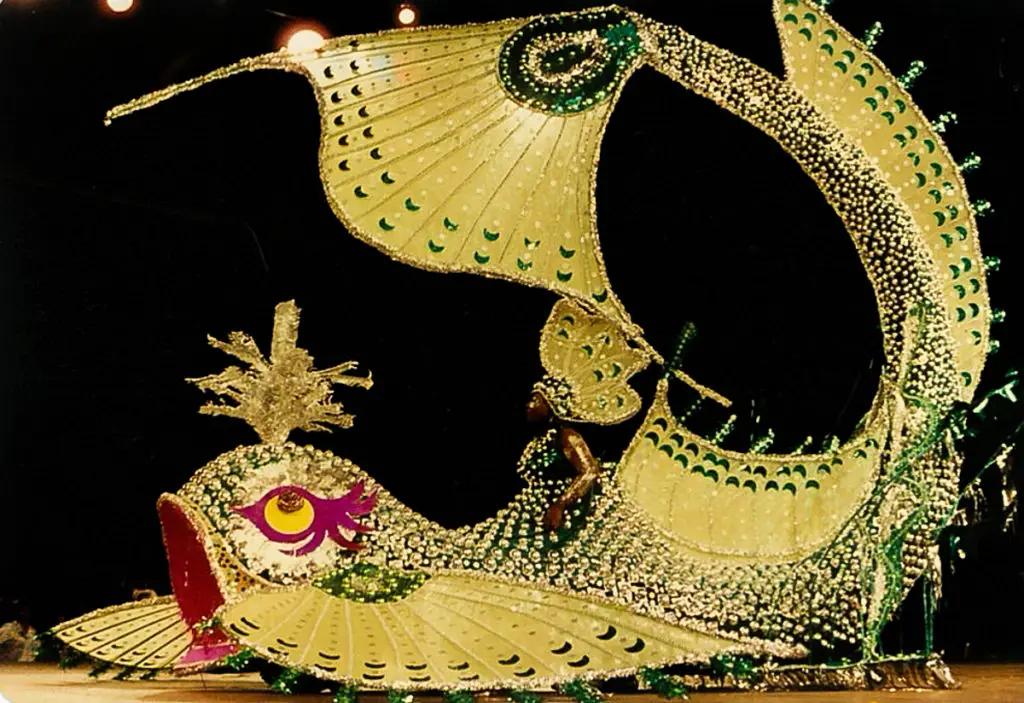
To repair damaged photos you must establish;
- the exposure is good enough to tweak
- there is enough clarity, focus and colour
If these two aren’t there, don’t waste time, discard it.
I was surprised to find most of the colour I needed in many of the pictures I had scanned. And I only needed to add minimal colour, usually where the sky was blown out (over exposed).
I get the best results by using a mixture of
- GIMP, for repair work – explained in Part 1
- Adobe Lightroom and
- Topaz Impression.
If you have Photoshop already you will not need Gimp. For others Gimp is an excellent free alternative with great tutorials.
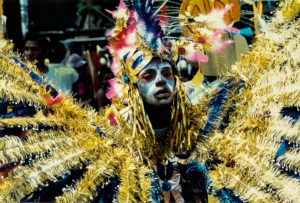
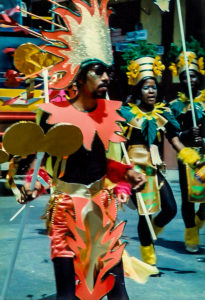
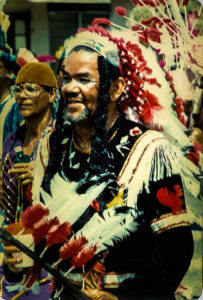
Here is the end result of a successful reconstruction where GIMP cleaned up the night sky beautifully. I’m sorry I can’t find the original to show you. Just take my word. The three others below responded well too.
Firefly
Simple Workflow Summary using Lightroom
If you have Lightroom, here’s a summary of my workflow to restore old photos which brings decent results most of the time:
- Open the image in Lightroom’s Develop tab.
- Check the Lens correction settings
- Go to Basics and bring down the highlights and open the shadows
- Adjust the Whites and Blacks.
- See how your exposure is and what colours are in the print by playing with the other sliders.
- Clarity and vibrance usually find what’s there.
- By now you will know if you have something good enough to work with.
- Next, blow the image up as high as it will go and start working on spot removal.
- Then do local adjustments to tease out what else is there.
- If I need to do any smudging and colouring (particularly sky) I go to GIMP. I find this is the best way of brushing out blemishes. Smudge – Is a favourite tool of mine which allows you too smooth out rough or grainy areas and blemishes giving a real painterly look. (My Masai Mara sunset Stage 2, is a good example)
- Here I am operating as a painter, so patience and touch are essential.
- Finally I decide whether I want to do an oil look in Topaz Impression. Or, if it’s good enough keep it as near original as possible.
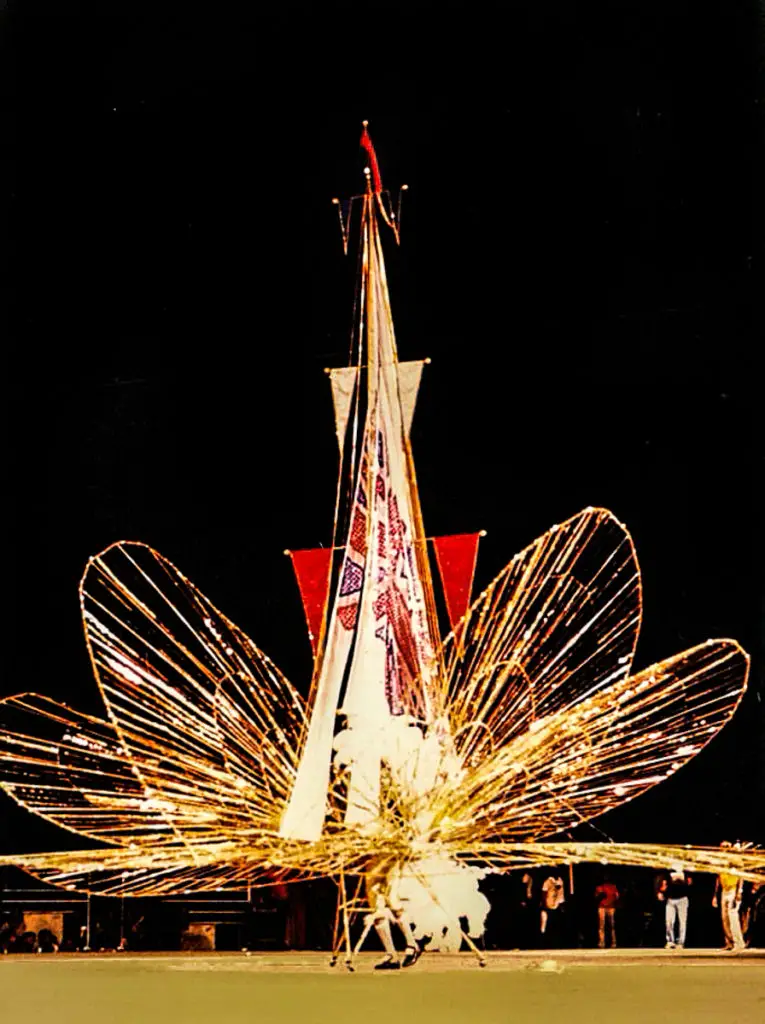
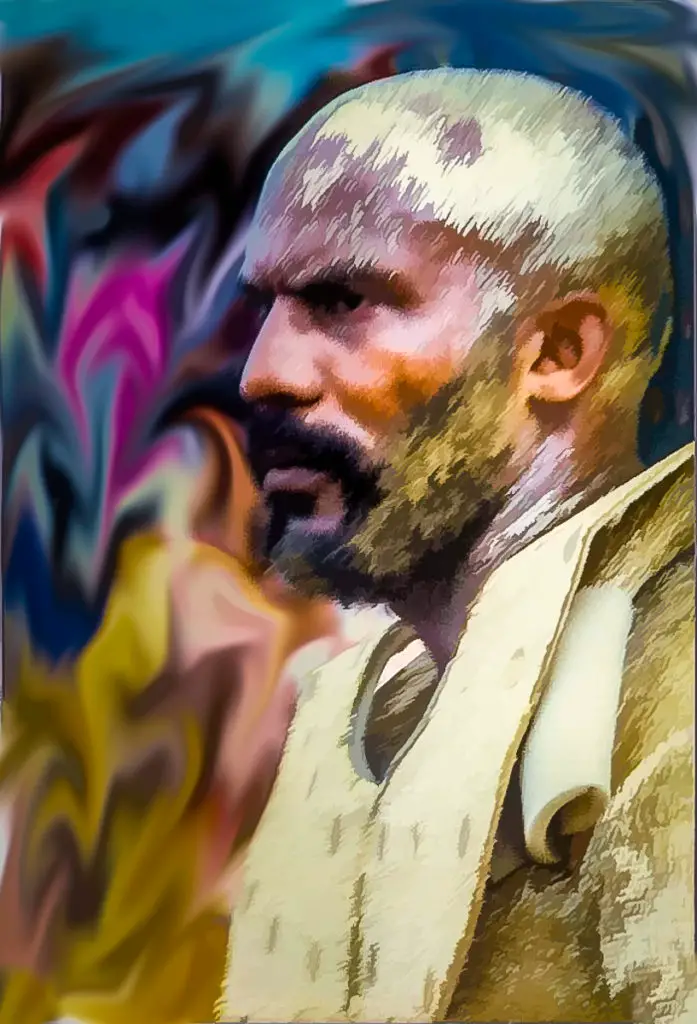
Two of my favourites from Trinidad Carnival 1982
Even though the focus was out I couldn’t discard these two pictures. So I worked hard to give them a psycadellic look which works for me.
Re-cap from the first post
Learn the basics and practice to restore old photos online
However good some tutorials are, you will need to understand the basic photo editing tools needed to restore old photos online, and practice on copy images. Mess them up as much as you can, it doesn’t matter because you need to get a feel for it. Imagine you have putty in your hands you can mould into any shape you want.
My first efforts were dreadful, but it didn’t take long to know what I could coax out of a damaged old photo.
I list the tools a bit later and point to some of the better tutorials I have found which helped me. I’m sorry to say there is no shortcut and you will have to invest time, even to master the basics. If you are familiar with the tools already that’s great. You are one step ahead.
In painter mode
As I said in Part 1, when I am working to repair damaged photos, I never think of them as photographs. It’s imporatant to see them as rough sketches of the pictures you want to create.
Visualise being an apprentice impressionist painter learning about brushes, brush strokes and colour mixes to capture light and natural forms. The advantage is that you are not starting with a blank canvas. Some of the results may still look like photos but you can turn them into paintings or photo-art to look like whatever you want.
The process can be tedious at times. But learn to love it and the rewards may surprise you. So use your imagination, be creative.
Recall memorable experiences
The re-engineering of some of my 20th century pre-digital photo prints enabled me to recreate memorable experiences from my travels. I have already posted The Gambia 1979, my 1980 Safari in the Masai Mara – Kenya and Trinidad Carnival 1982.
Spike
I hope these ideas will inspire you to restore old photos and get you looking for buried treasure.




Yes, I know what you mean about only scratching the surface yet time has its own rewards!
Have a great day 🙂
Hi Sandy. It’s taken me months of study and research to get where I am. Yet I am still only scratching the surface. The real pro’s have been at it for years and watching their tutorials, whilst very educational and informative, makes me realise how much I don’t know. But it’s very rewarding and fun. Keep well. James
Thank you for sharing your old and re-worked photo’s + the helpful information, I can see that you have aquired a lot of knowledge by the context and images displayed.
I enjoy seeing images also that are blended and stitched together to create a wonderful and unique piece of work – however, I have no idea about the process or technicality involved, wish I did!
Thanks for the comment Jackie. Does the learning curve ever end? James
my grandfather left me about 6,000 slides all great memories I scanned then on a good scanner that would scan 5 at a time most become yellow with age NO MATTER HOW THEY ARE Stored so yes a good idea to digital I even have some tin photos from my great grandfather Dont see this suggestion but if you copy to a DVD or DC buy the best that is archival quality and do not use a marker on the face unless it is made for writing on the surface of the CD or DVD will delaminate the CD or DVD there are some high quality CD that are rated for 200 years ??? very tine consuming but worth the effort
I am not normally one to harp on the past but when my old photos were re-born it was so exciting. Thanks for the comment Sandy.
I remember using a Kodak camera for instant snaps, most of those have now faded over time, but the concept is not lost on me!