|
Getting your Trinity Audio player ready...
|
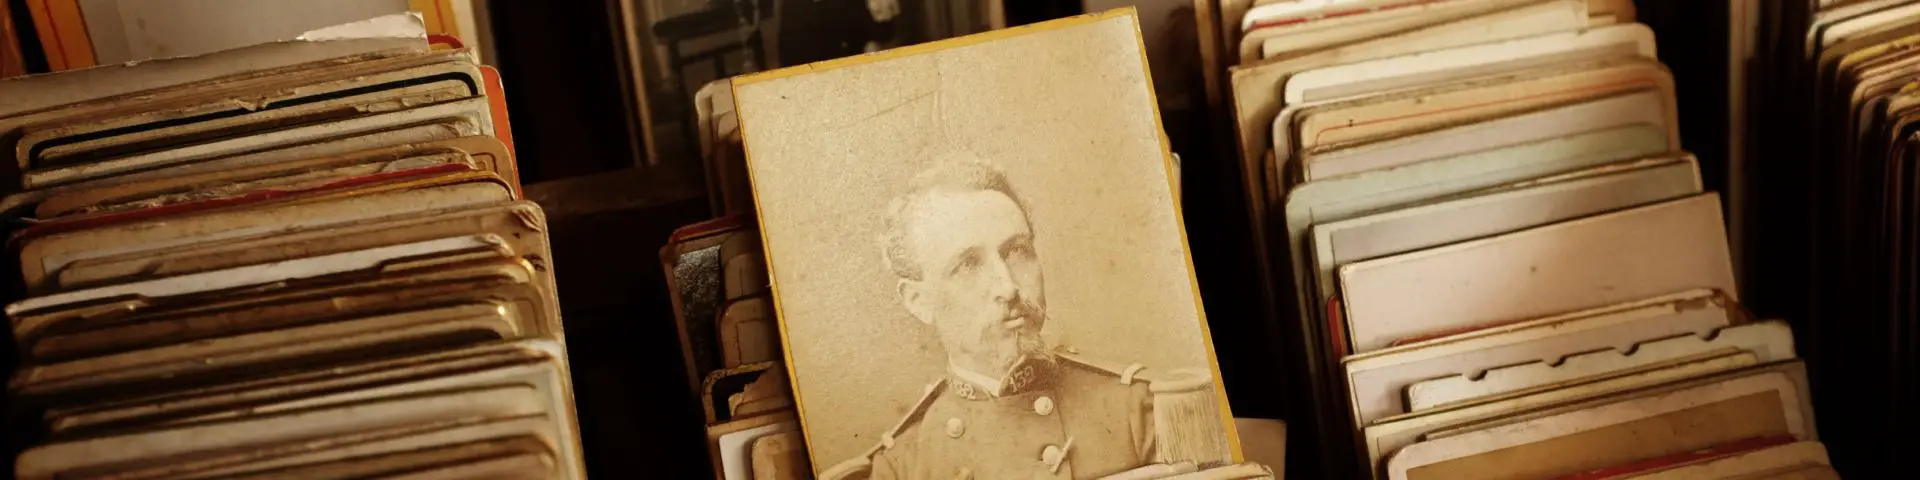
Damaged old photos are a source of memories. If you are you are old enough to remember the age of pre-digital photography, you may have an attic full of memories in the form of decaying photo prints. If you leave them, it may be too late to restore old photos online free. You can repair damaged photos online free, using Gimp photo restoration software. It’s a tried and tested free open source alternative to the expensive Adobe Photoshop and has been around for years. Gimp has masses of tutorials to help you learn and save money hiring professionals, if you have the patience and desire.
When I started out in photography I couldn’t justify the additional expense of Photoshop so I learned how to use Gimp, and I don’t regret it.
Discovering damaged old photos
This post is not a detailed, how to tutorial. It is an explanation of when I found my damaged old photos, what inspired me to restore them and how I went about the basic process to restore old photos online free. It should help you get started
Even if you are younger I’m sure you will find some never to be repeated faded and damaged old photos, your parents took. It is possible to restore old damaged photos online free, and transform them into colourful pictures, like the ones below. By using Gimp photo restoration will take on a new meaning, and the Photoshop clone is free.
Restore old photos online FREE
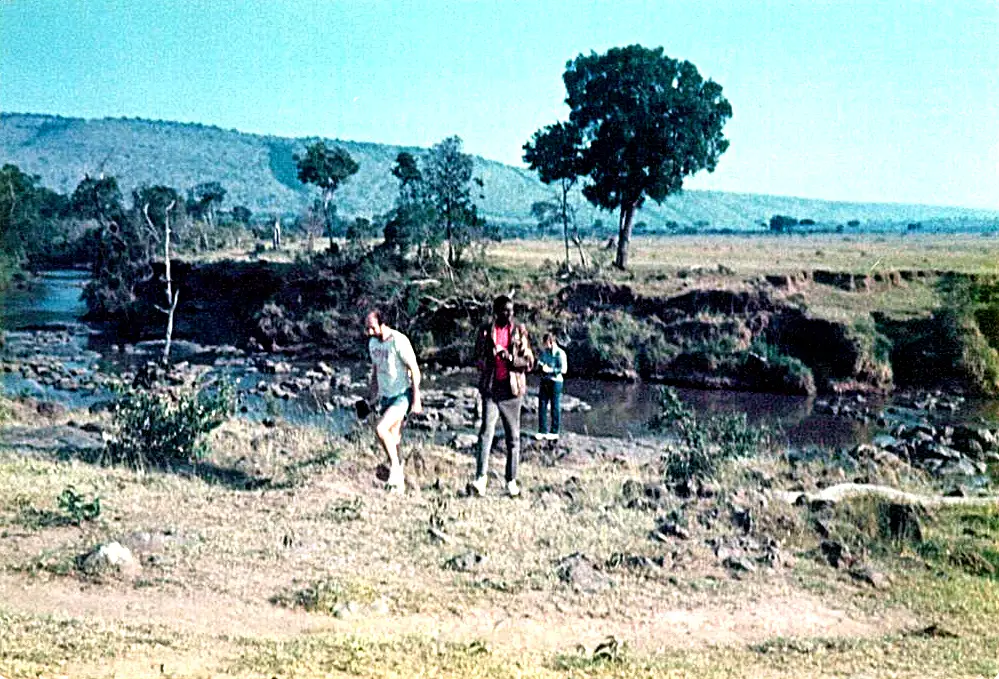
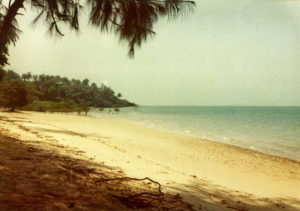
Here is an example of how to repair damaged photos online free, using Gimp photo restoration. This is the original scanned print, a lifeless picture which I almost tore up.
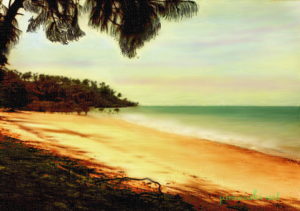
I must own up and say, a few years after I used Gimp I turned it into an oil using Topaz Impression, a great piece of software that produces miracles. Impression isn’t free, but if you are well organised and prepared to watch this tutorial first, you can get a lot of work done in Topaz 30 day FREE Trial. I wouldn’t mind betting you will want to buy it. I did.
Gimp Photo Restoration – of a print of the Mara River
Here is the end result. A Gimp photo restoration turned into a photoart oil painting later, minus the humans.

As I started learning about modern-day photography, post-processing and photo editing, I realised what good results can be achieved with little more than a basic understanding of GIMP or Photoshop. And if you like to turn your photos into paintings, add Topaz.
I was a novice when I started to restore old photos and it has taken a fair amount of hard graft and copious amounts of patience to get to the point where I feel comfortable in the modern photo-art world. The secret, if there is one, is to keep it as simple as possible. Learn the basics and you will be able to repair damaged old photos and create unique pictures.
Why bother to restore faded and damaged old photos?
Because you can repair damaged photos online free, it gives you the opportunity to do something our predecessors could not. Recover history in way that was not possible before the twenty-first century.
You may have wonderful memories of twentieth-century travel experiences. But those memories are in your head and maybe in tatty photos no-one wants to see, like mine were. You can now recreate them, bring them back to life, so they may stay in your family forever.
They are not only damaged old photos
Unfortunately they are damaged old photos but they represent a lot more. Poor quality prints can never recapture what happened. But with the right tools, a little skill, time, patience and hard work you can create something magical that will last a long time.
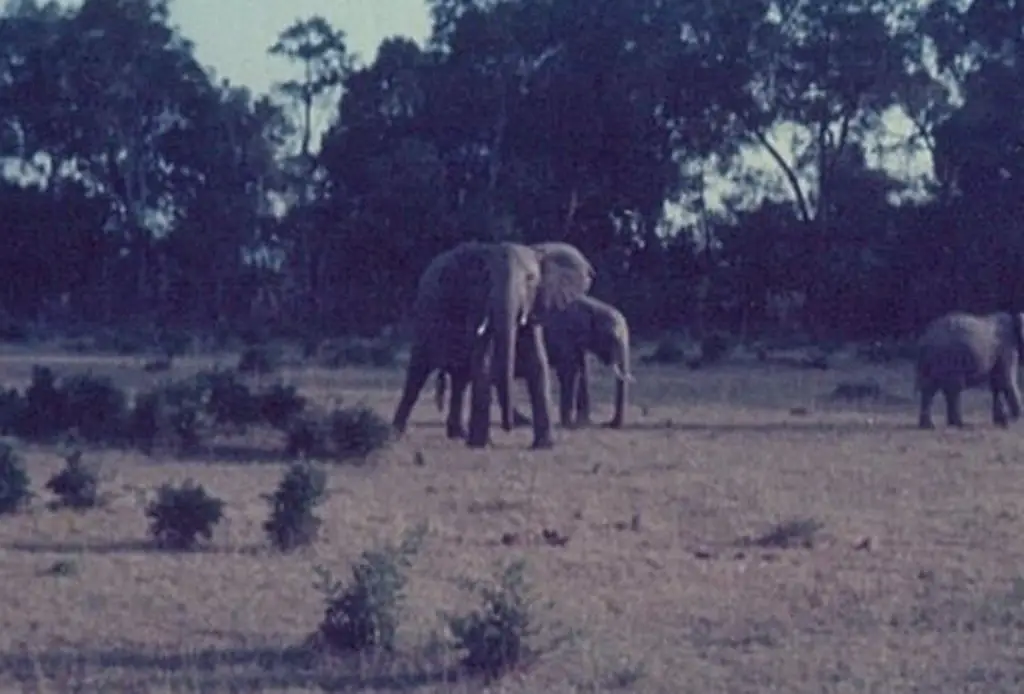
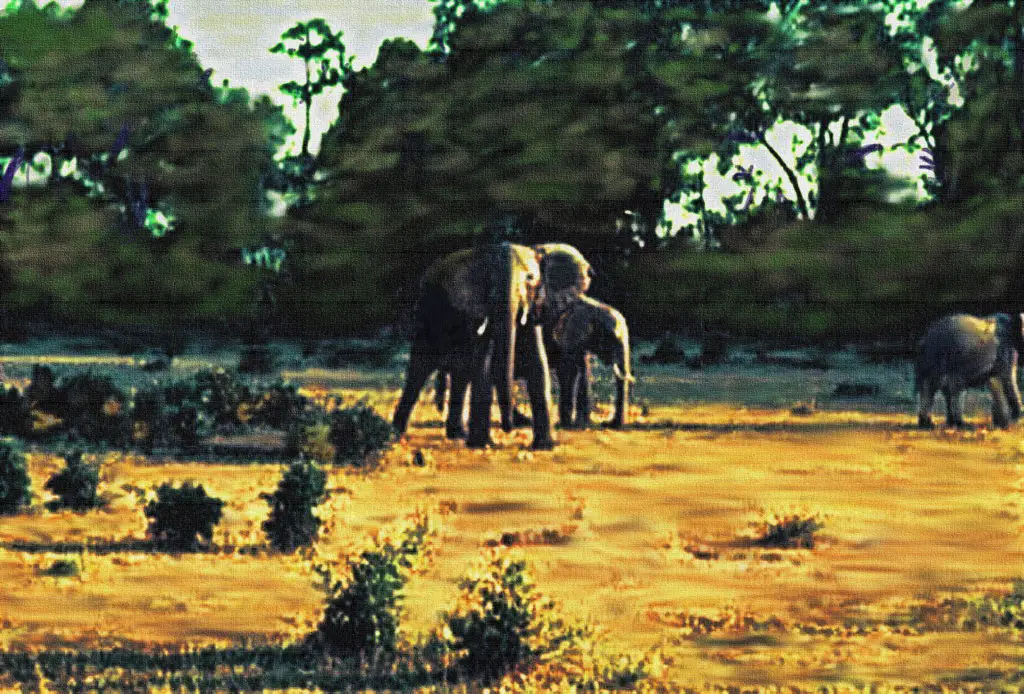
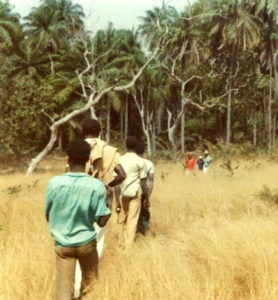
After sorting through mountains of old photos of my 1979 holiday in The Gambia, and Trinidad Carnival 1982, I discarded most of them, I ended up with around 200 which I thought may be usable. I found a photographic shop with a decent scanner and paid the owner $30 to scan them all for me. Even the best ones didn’t look too good, so I was sceptical as to whether I could do anything with them. Most were all grainy with washed out colour, like this aggravated elephant which charged, just after I took this shot, while on safari in Kenya in 1980.
A difficult start
These were some of my early attempts and I wasn’t confident that I would be able to make anything out of the elephant. I went through six stages in the metamorphosis, adding a canvas texture hoping it would help. Eventually he looked more like I remembered, but he wasn’t great. I am showing this one which was really difficult, because of the detail. I should have left it until I’d had plenty of practice.
So, start with simple images; those with not too much detail, that aren’t so badly damaged and have some good colour you can pull out.
STAGE 1
First, I tried to establish whether the old photos had enough clarity, focus and colour. If not, I didn’t waste time and discarded them. I was surprised to find virtually all the colour I needed in the pictures in this post, but there were many others not good enough. I added a slight touch of colour in some photos, which you can do quite easily. but it is also easy to overdo it.
Follow what I did, using GIMP photo restoration for the main work:
- Open the image in GIMP – File – Open.
- Then go to View – Zoom – Fit image in window.
- Check – Colours – Levels – Down the page on the right are 3 pickers. Choose the first picker which says ‘Pick black point’.
- Then point it to any completely BLACK part of the image and click.
- Then choose the ‘Pick white point’ and find a pure WHITE point and do same. If there is no clear white point, ignore or just use the middle grey point. This process raises the colour levels to see if there is a possibility of producing a better image.
- Then go to Filters – Enhance – Unsharp mask. Don’t change the standard settings, just click OK and see if the clarity is better.
- If not click OK again. Use your eye to determine.
Learn the GIMP Basics
At this point, you have to understand the basic Gimp photo editing tools needed, and then practice on a copy image.
I used them to get a feel for it. I list the tools a bit later and point to some of the better tutorials I have found which helped me. I’m sorry to say there is no shortcut and you will have to invest time, even to master the basics. If you are familiar with the tools already that’s great, you have a head start.
Restore faded photos in Painter Mode
When I am working on old photos, retouching, I never think of them as photographs.
- They are rough sketches of the pictures I want to create.
- Visualise being an impressionist artist learning about brushes, brush strokes and colour mixes to capture light and natural forms.
- There is an advantage the painter doesn’t have – not starting with a blank canvas.
Some of the results still look like photos but most of them resemble paintings or photo-art if you like. You need to love the process, as it can be tedious. I’m lucky I do.
STAGE 2
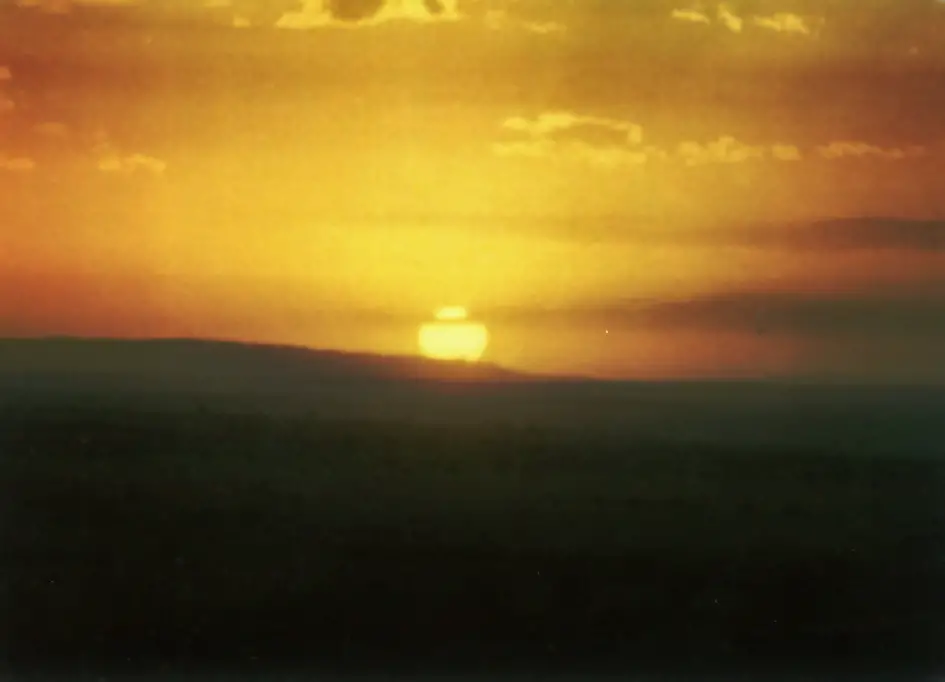
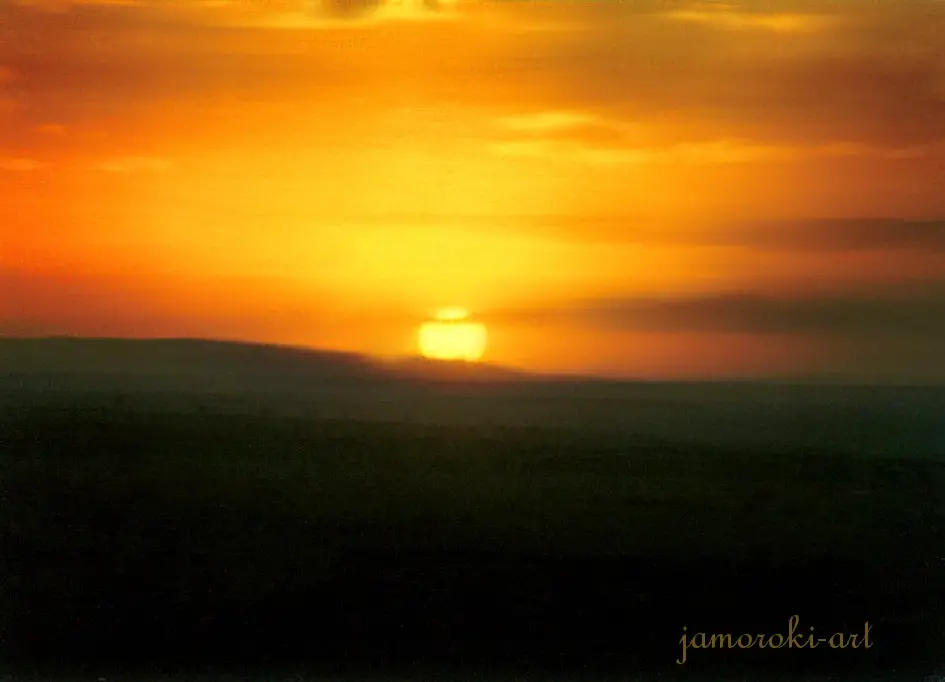
The Masai Mara Sunset on the top is the quality I tried to acheive in Stage 1, before starting the photo retouching in Stage 2 progressing to the finished image on the bottom.
- First remove all the major blemishes visible on the image using the Clone tool (Tools – Paint tools – Clone) Move your cursor to the image, hold down Ctrl and then left click.
- Go to the left sidebar and turn Opacity down to 40 or 50 and adjust the tool size to the size you think is right for the job depending on the size of the blemishes. (You’ll need to assess this with each part of the image).
- Then go down and click smooth stroke.
- Go back to the image and increase the size by View – Zoom out until all the blemishes show up well.
- Now you are set up get to work removing the blemishes by Ctrl-Click near the blemish then left click 1 to 4 times on and/or smooth over the blemish until it has gone. The feel will come with practice so persevere and take your time. If you make a mistake or aren’t happy go to Edit – Undo until you are happy it looks ok.
- Once this is done you will need to bring the colours up and you can use a few tools here under Colors (Color balance – Hue saturation – Curves). These are the ones I used most. Make sure you don’t over saturate colours so they look unnatural.
Start Painting with Gimp
Now you are going to start painting unless the image is how you want it already.
Go to Tools – Paint Tools and select the tools, one by one, you need. (you need to use the tools to understand them, so trial and error is required). The main ones I use, which should be sufficient, are:
- Paintbrush or Airbrush – Is what it says and you can set the size of the brush, choose the paint colour, opacity and pressure.
- Clone – Is a very flexible tool which allows you to copy and paste small or large sections of the image to another point
- Dodge and Burn – Is a simple but valuable tool whereby you can lighten or darken parts of the image.
- Smudge – Is a favourite tool of mine which allows you too smooth out rough or grainy areas and blemishes giving a real paint look. (Masai Mara sunset is a good example) Here you are really operating as a painter so patience and touch are essential.
You may need to isolate areas of the old photos by using ‘selection’ tools or ‘layer masks’. At the time, I was learning to work with these tools, so haven’t covered that here.
These GIMP Paint tool tutorials helped a lot with the Gimp photo restoration:
Gimp 2.8 Tools Tutorial – how to use Paint Tools, pt 1
Gimp 2.8 Tools Tutorial – how to use Paint Tools, pt 2
In Gimp photo retoration process, use imagination
The possibilities are only limited by your imagination and the amount of time you are prepared to spend. As I did not start with good photographs my pictures will not win awards. But, in a way, that makes it even more challenging and enjoyable. To restore old photos and bring them back to life in a different form is fun. I felt like a ‘photo-archaeologist’ who had stumbled over a bunch of fossils. The process helped me in areas of post-processing I wouldn’t have bothered with if I had start with RAW files.
To restore old photos online free from 20th-century photo prints recaptured memorable experiences from my travels.
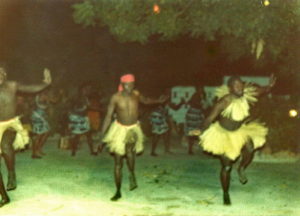
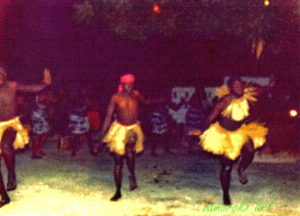
Read The Gambia 1979 and 1980 Safari in the Masai Mara – Kenya and 1982 Carnival in Trinidad. Here are a few more examples of re-touched photos turned into paintings.

Part 2
I hope you have enjoyed this first post to help you restore old photos online free, and will soon be scrabbling around in the attic for buried treasure so you can restore your old photos.
Then move on to read PART 2 – Restore old photos online -Here’s how to do it
Final Thoughts
Tutorial – How to restore badly damaged old photos
If you have badly damaged old photos which you want to restore, this tutorial by Davies Media Design is one of the best I have come across.
In this GIMP 2.10.6 tutorial, I show you how to repair or restore severely-damaged old photos that may be ripped, wrinkled, faded, blotched, or otherwise damaged in any way. I use a variety of techniques to fix this damaged photo, including using the Heal tool, Heal Selection Tool, and Paint tools – as well as using a Wacom Tablet to make a lot of these repairs. This is a fairly tedious process, but the final product is truly stunning as it can completely restore photos that are decades old back to (or close to) their original quality.
One comment
Comments are closed.